Tools
Docker
Tableau
GitHub
Overview
GitHub is a git repository hosting service. There are other, less well known repository hosting services such as: GitLab, Bitbucket, and Gitea. git itself is a free and open source version-control system for tracking changes in source code during software development.1
git
Install
- Follow the instructions here to install
gitonto your machine.
Configure git
- Run the following commands:
git config --global user.name "You name here"
git config --global user.email "your_email@example.com"- Next, you need to authenticate with GitHub. Create a public/private keypair:
ssh-keygen -t rsa -C "your_email@example.com"This creates two files:
~/.ssh/id_rsa --your private key
and
~/.ssh/id_rsa.pub --your public key
- Copy your public key to your clipboard.
- Navigate and sign in to https://github.com.
- Go here, and click "New SSH key".
- Name the key whatever you'd like in the "Title" field. Usually, I put the name of the computer I'm using.
- Paste the key in the "Key" field, and click "Add SSH key".
- At this point in time you should be good to go. Verify by running the following in your terminal:
ssh -T git@github.comYou should receive a message like:
Hi username! You've successfully authenticated, but Github does
not provide shell access.
Clone a repository
If you've followed the directions here to configure git with SSH:
- Open a terminal and navigate into the folder in which you'd like to clone the repository. For example, let's say I would like to clone this book's repository into my
~/projectsfolder:
cd ~/projects- Next, run the following command:
git clone git@github.com:TheDataMine/the-examples-book.git- At this point in time, you should have a new folder called
the-examples-bookinside your~/projectsfolder.
Commit changes to a repository
Creating a commit is simple:
- Navigate into your project repository folder. For example, let's assume our repository lives:
~/projects/the-examples-book.
cd ~/projects/the-examples-book- Modify the repository files as you would like, saving the changes.
- Create your commit, with an accompanying message:
git commit -m "Fixed minor spelling error."Fetch remote changes
- Navigate to the local repository. For example, let's assume our repository lives:
~/projects/the-examples-book.
cd ~/projects/the-examples-book- Fetch and pull the changes:
git fetch
git pull
Push local commits to the remote origin
- First fetch any remote changes.
- Then run the following commands:
git pushCreate a new branch
To create a new branch based off of the master branch do the following.
- Checkout the master branch:
git checkout master- Create a new branch named
fix-spelling-errors-01based off of the master branch and check the newfix-spelling-errors-01branch out:
git checkout -b fix-spelling-errors-01Publish your branch to GitHub
If your current local branch is not present on its remote origin, git push will publish the branch to GitHub.
Create a pull request
After publishing a local branch to GitHub, in order to create a pull request, simply navigate to the following link:
https://github.com/my_organization/my_repo/pull/new/my_branch_name
Replace my_organization with the username or organization name. For example: thedatamine.
Replace my_repo with the name of the repository. For example: the-examples-book.
Replace my_branch_name with the name of the branch you would like to have merged into the master branch. For example: fix-spelling-errors-01.
So at the end, using our examples, you would navigate to:
https://github.com/TheDataMine/the-examples-book/pull/new/fix-spelling-errors-01
Fill out the information, and click "Create pull request".
GitHub Desktop
GitHub Desktop is the official graphical user interface (GUI) for GitHub. It is extremely user friendly. It can help new users and more experienced users alike manage their repositories on GitHub.
Install
- Follow the directions here to install GitHub Desktop.
- Upon the launch of the application, you should be presented with a screen similar to this:
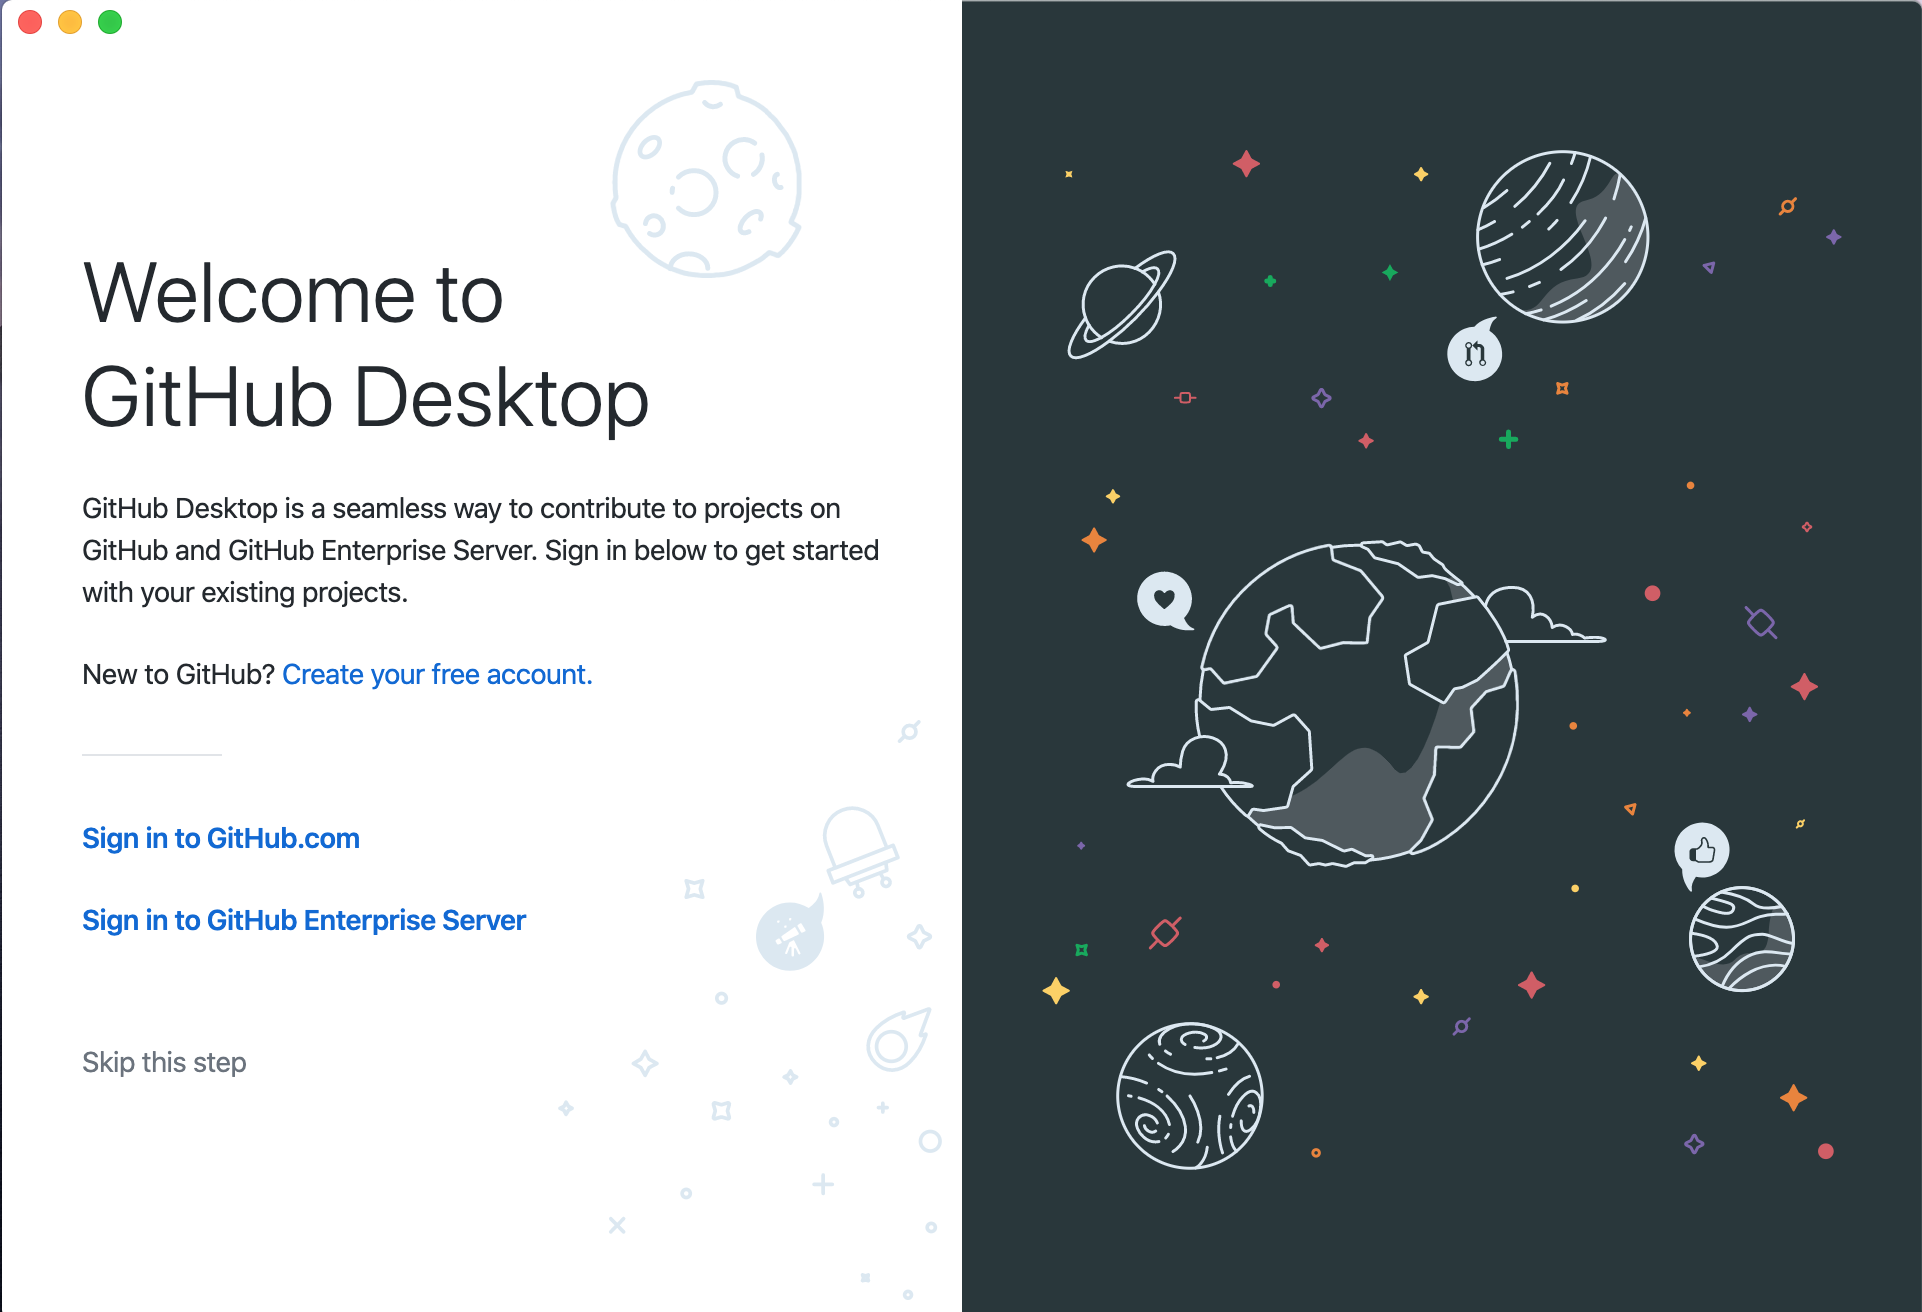 3. Click on "Sign in to GitHub.com". This should launch a browser and ask you to "Sign in to GitHub to continue to GitHub Desktop".
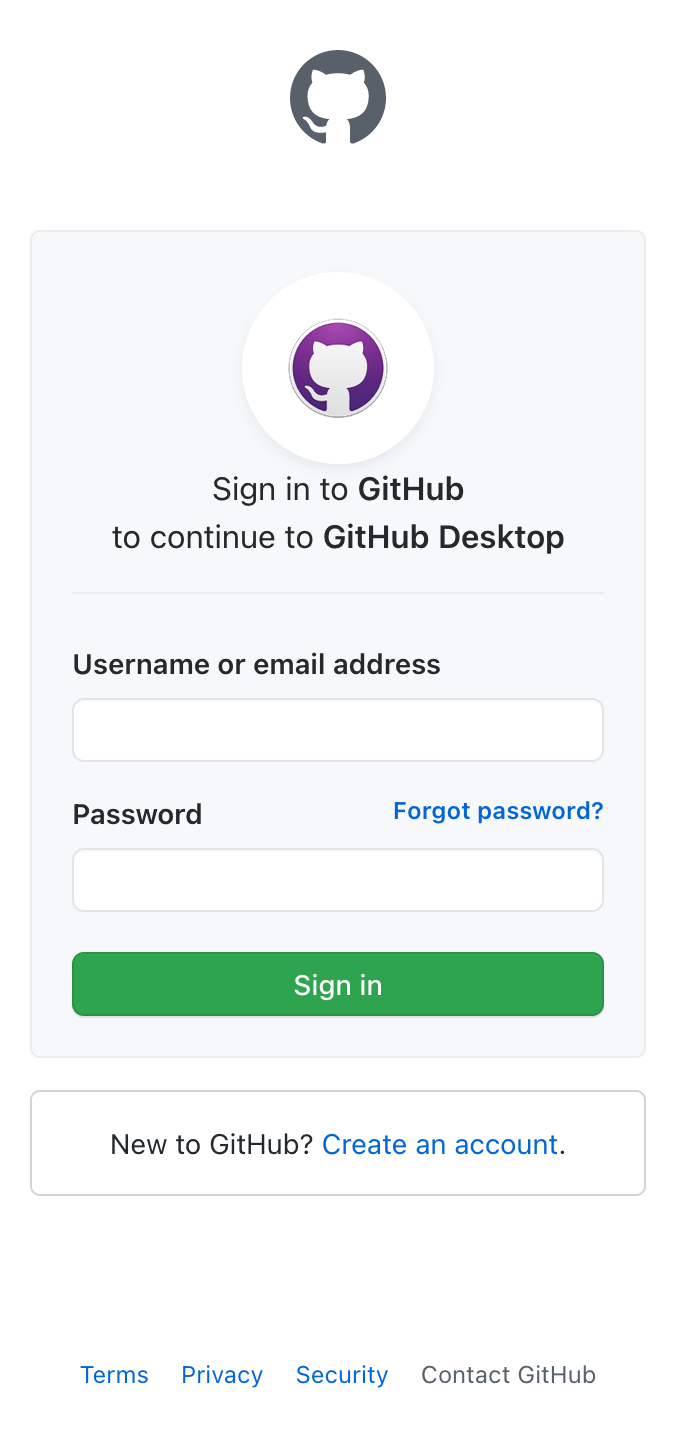 4. Enter your GitHub credentials and click on "Sign in". If your browser asks if you'd like to open something up in the GitHub Desktop application, click okay.
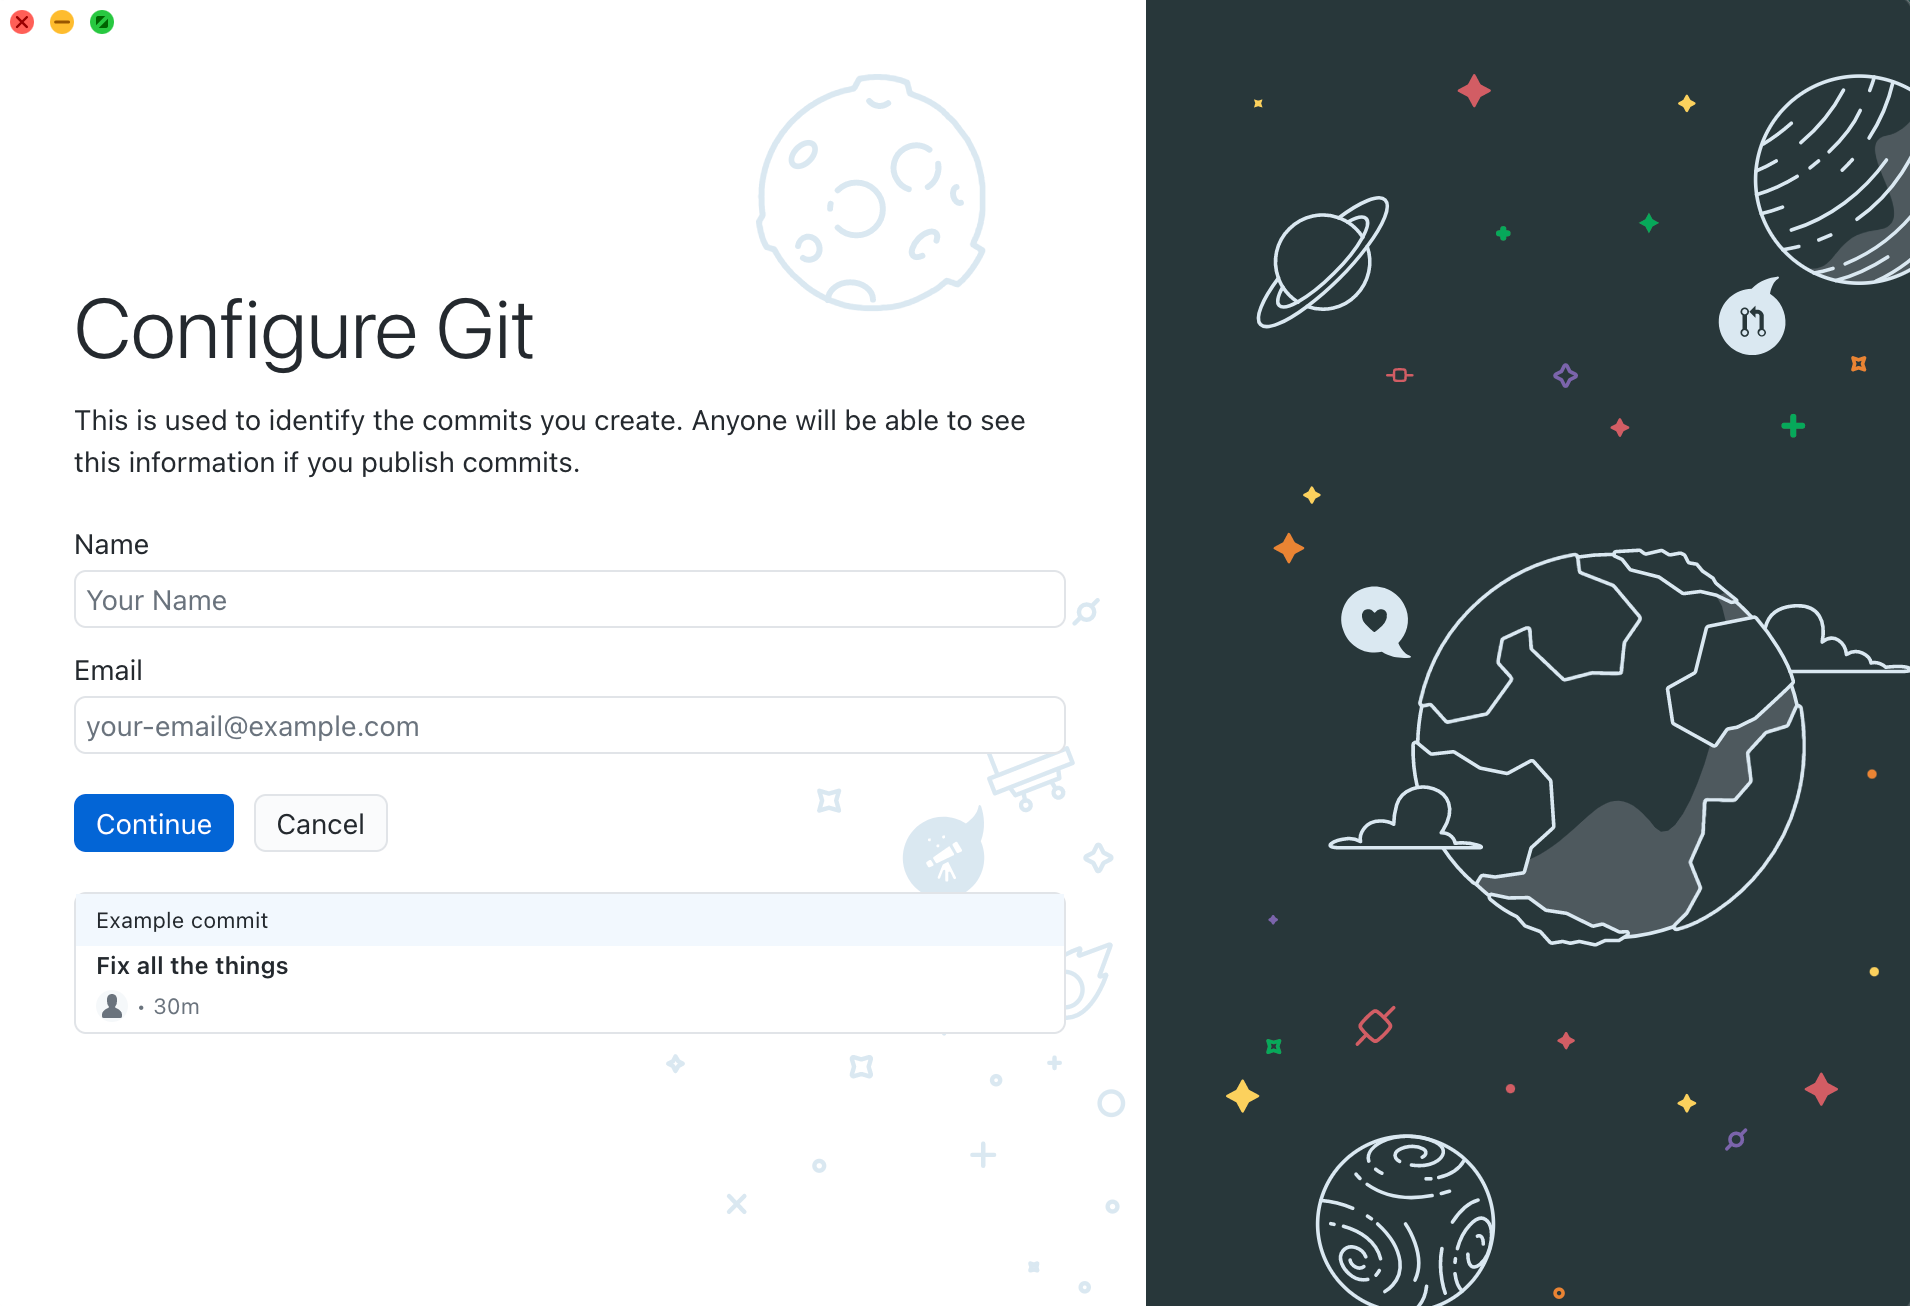
- When you see the following screen, enter your name and email address you'd like to associate with your commits. Anyone will be able to see this information if you publish commits. Click continue.
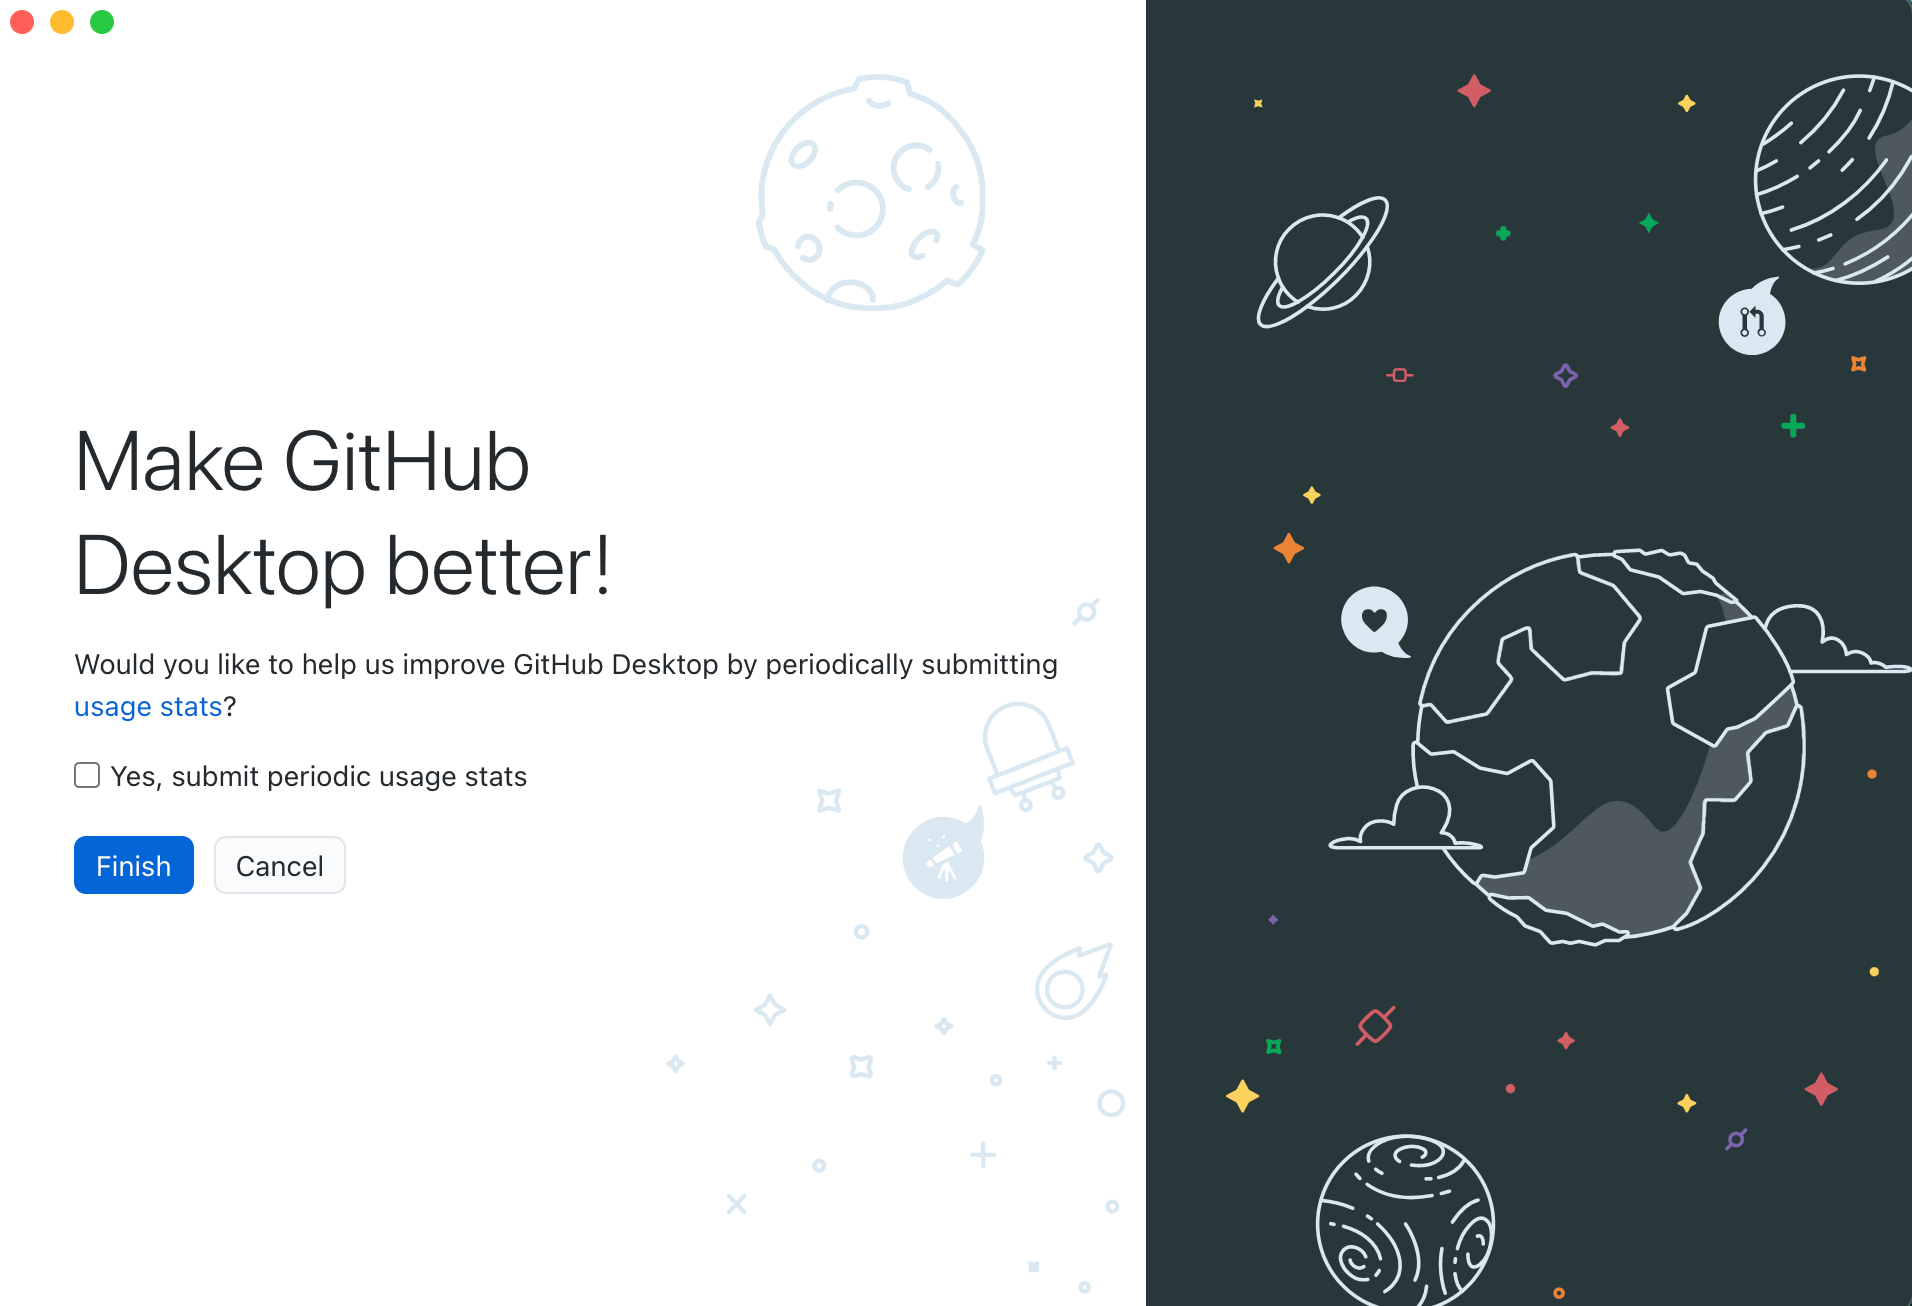
- Select whether or not you'd like to send usage statistics to Microsoft, and click "Finish".
Commit changes to a repository
- First, make a change to to a file within the repository. In this example, I added a contributor named John Smith:
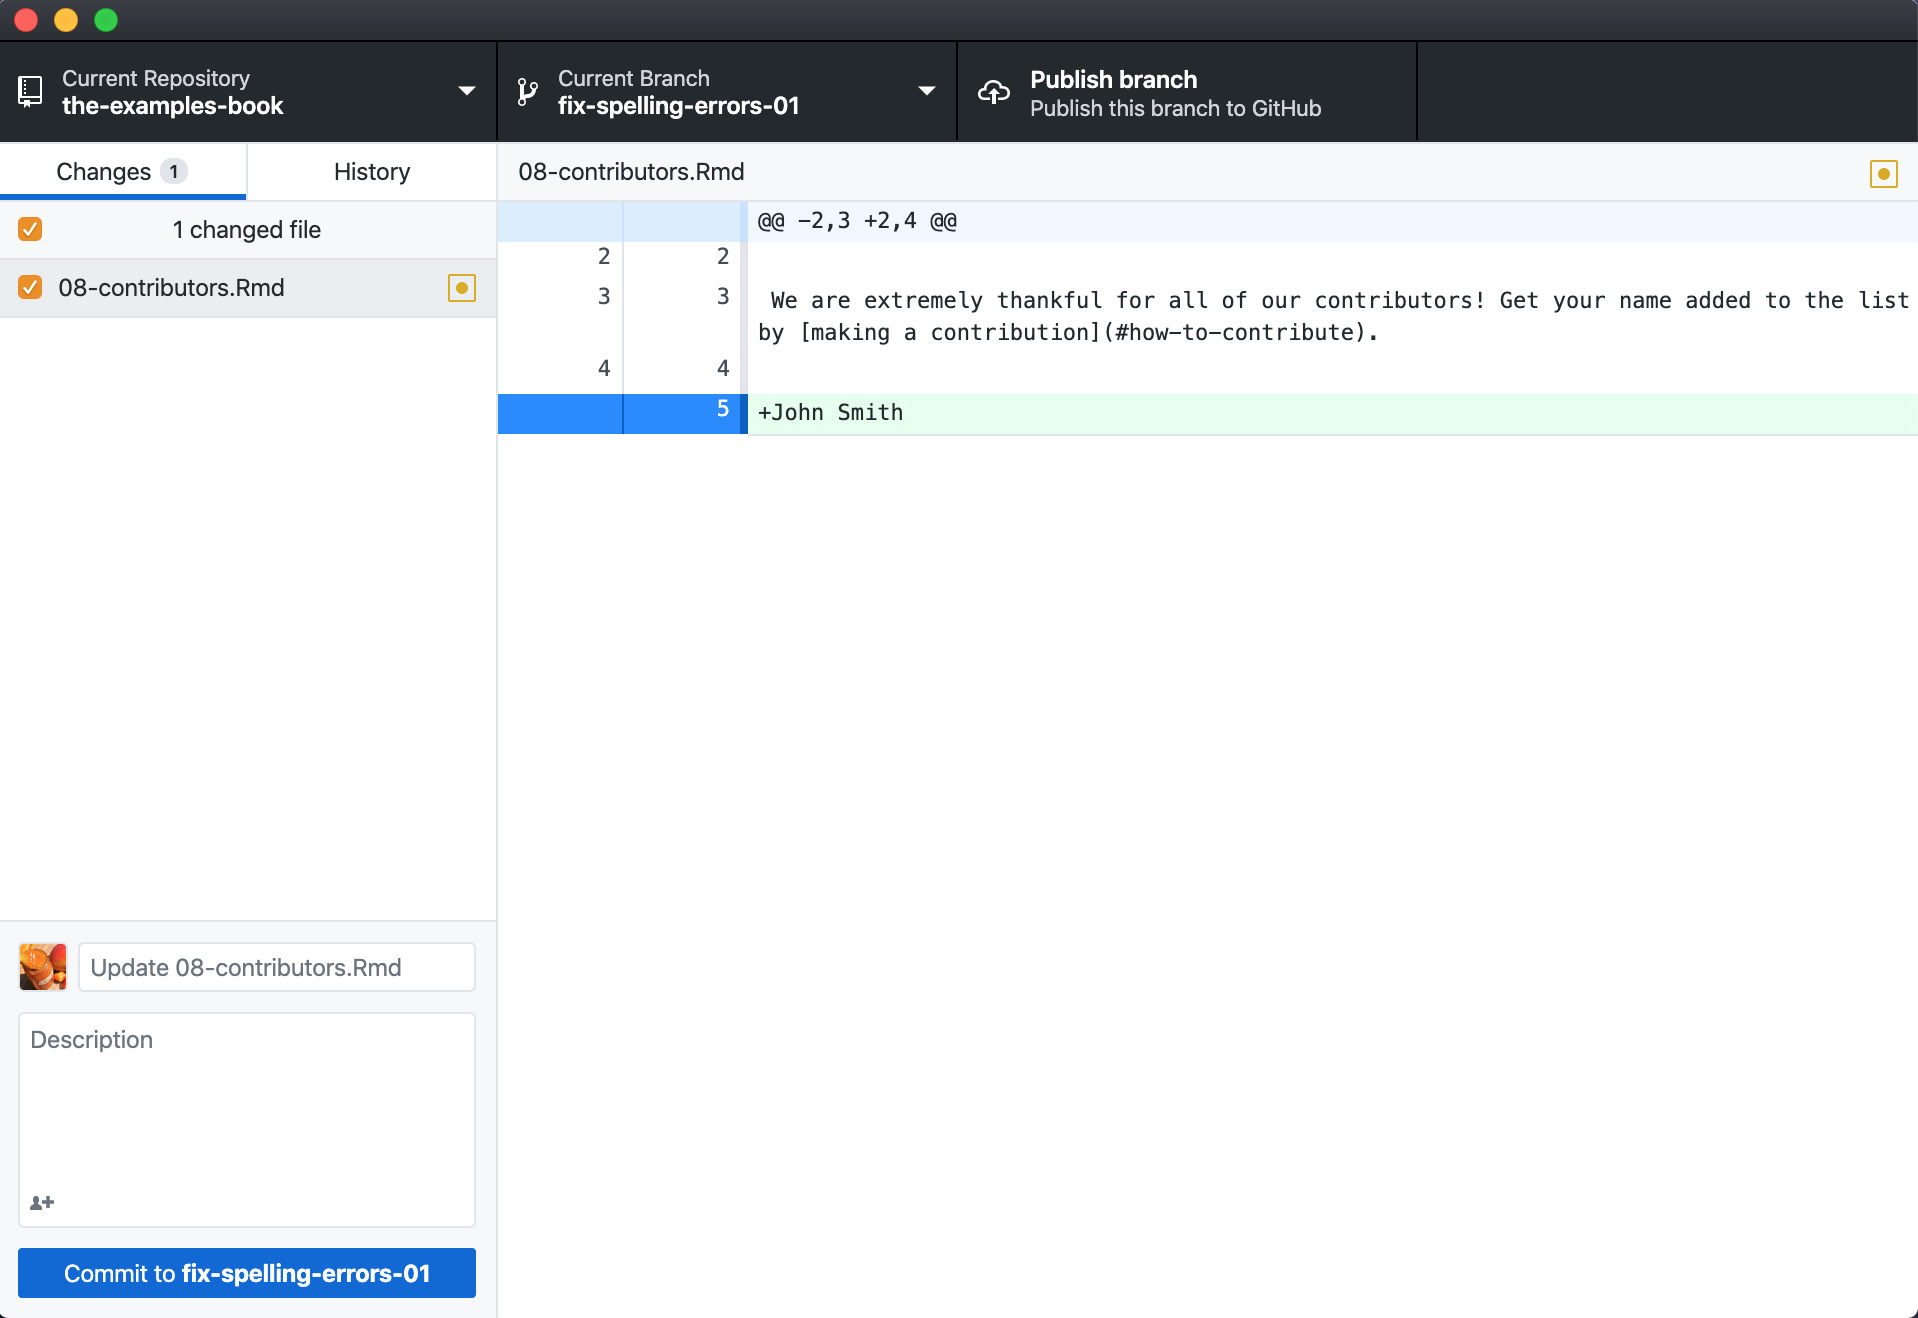 2. In the lower left-hand corner of the GUI, add a Commit title and description. Concise and detailed titles and descriptions are best. Click "Commit to
 name-of-branch" in this case, our branch name is fix-spelling-errors-01. 3. At this point in time the Commit is only local (on your machine). In order to update the remote respository (on GitHub), you'll need to publish your branch.
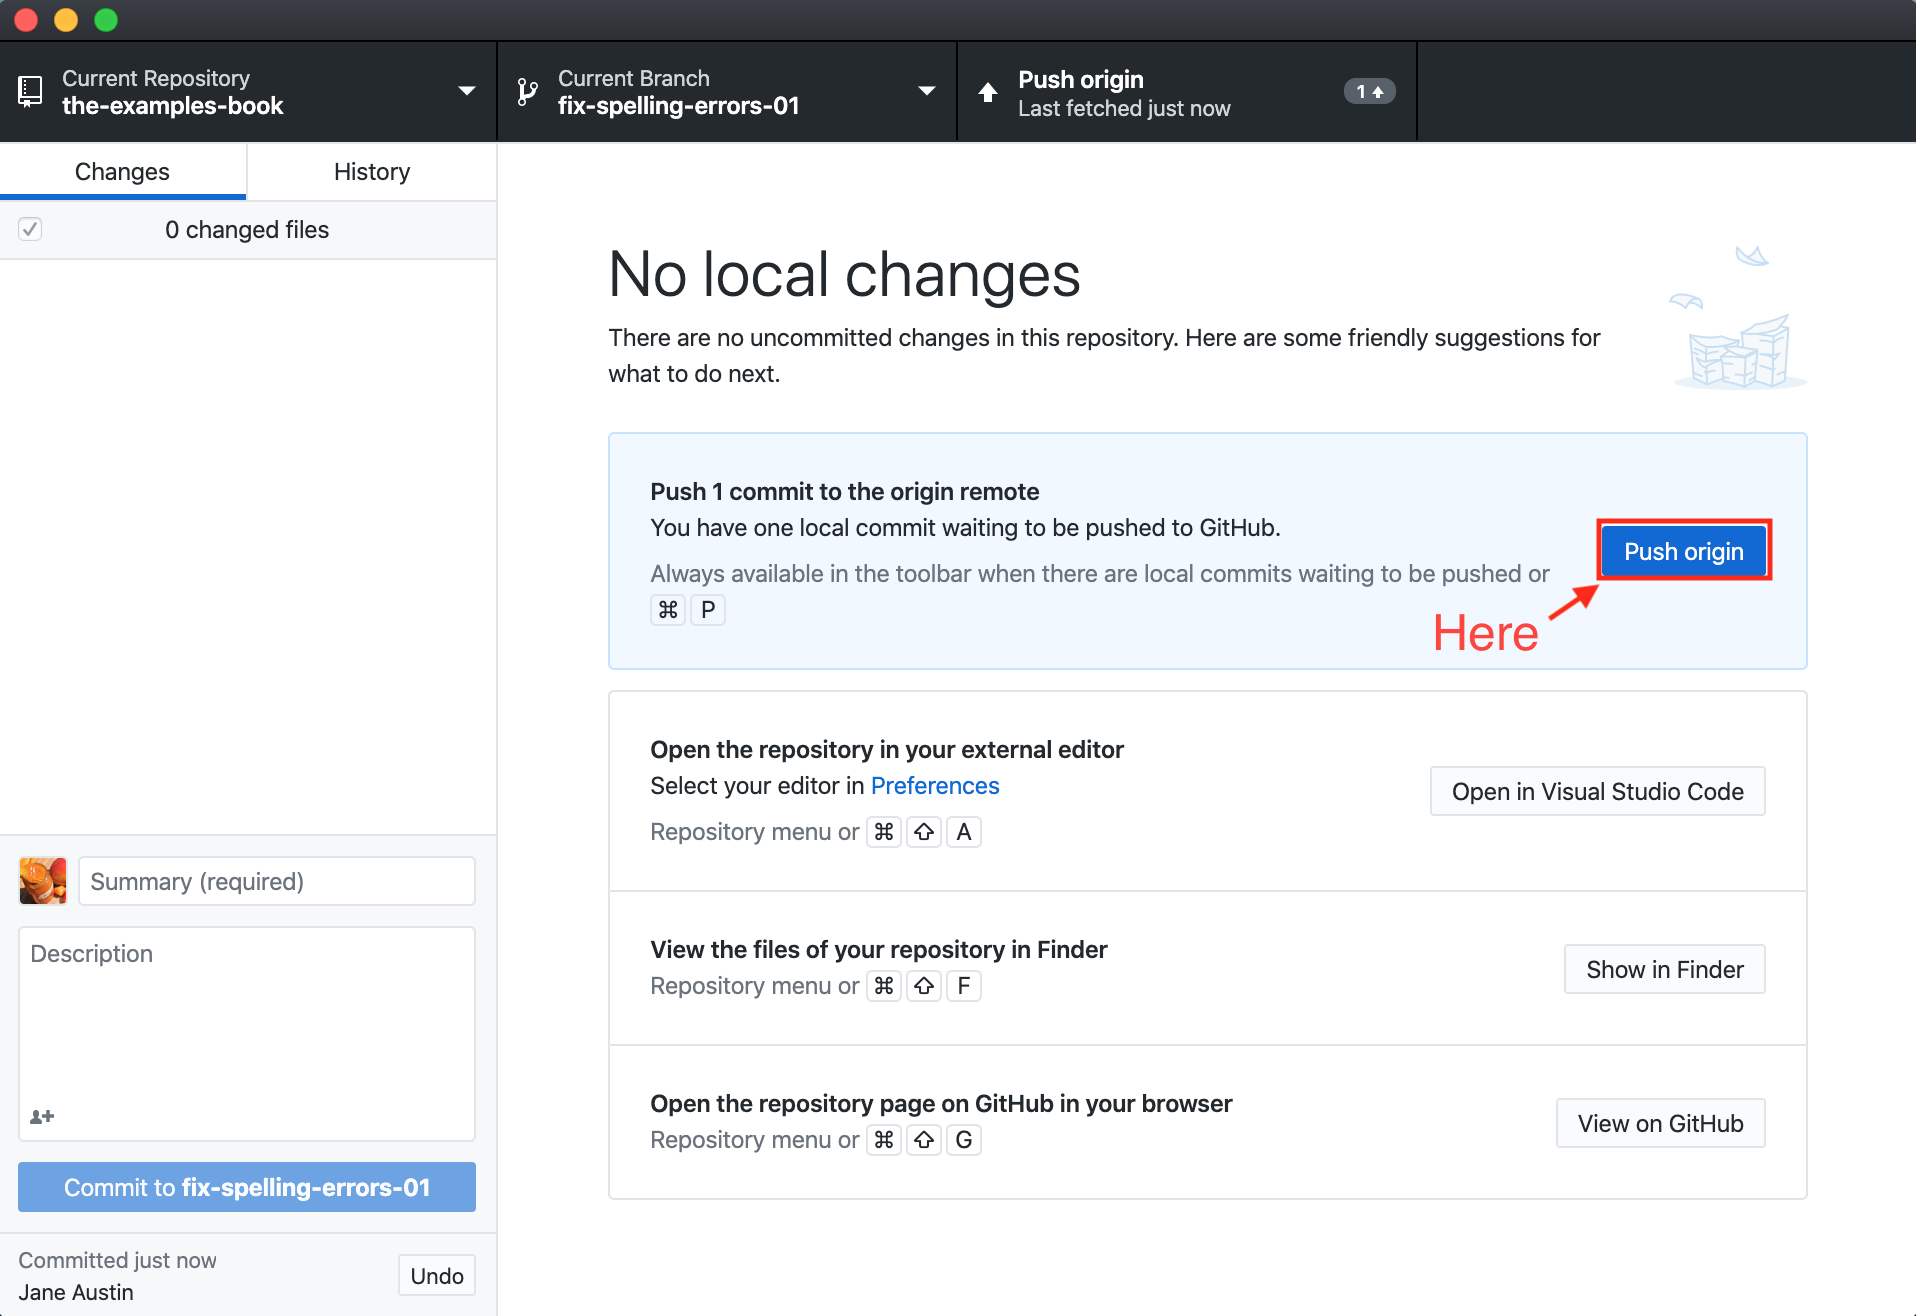
If your branch is already published (present on github.com), you'll need to push your local commits to the remote origin (which is the remote fix-spelling-errors-01 branch in this case) by clicking on the "Push origin" button:
Push local commits to the remote origin
- If you have commits that are ready to be pushed to the remote origin (github.com), you'll be presented with a screen similar to this:

- Simply click on the "Push origin" button in order to push your local commits to the remote origin (which is in this case, a remote branch called
fix-spelling-errors-01):
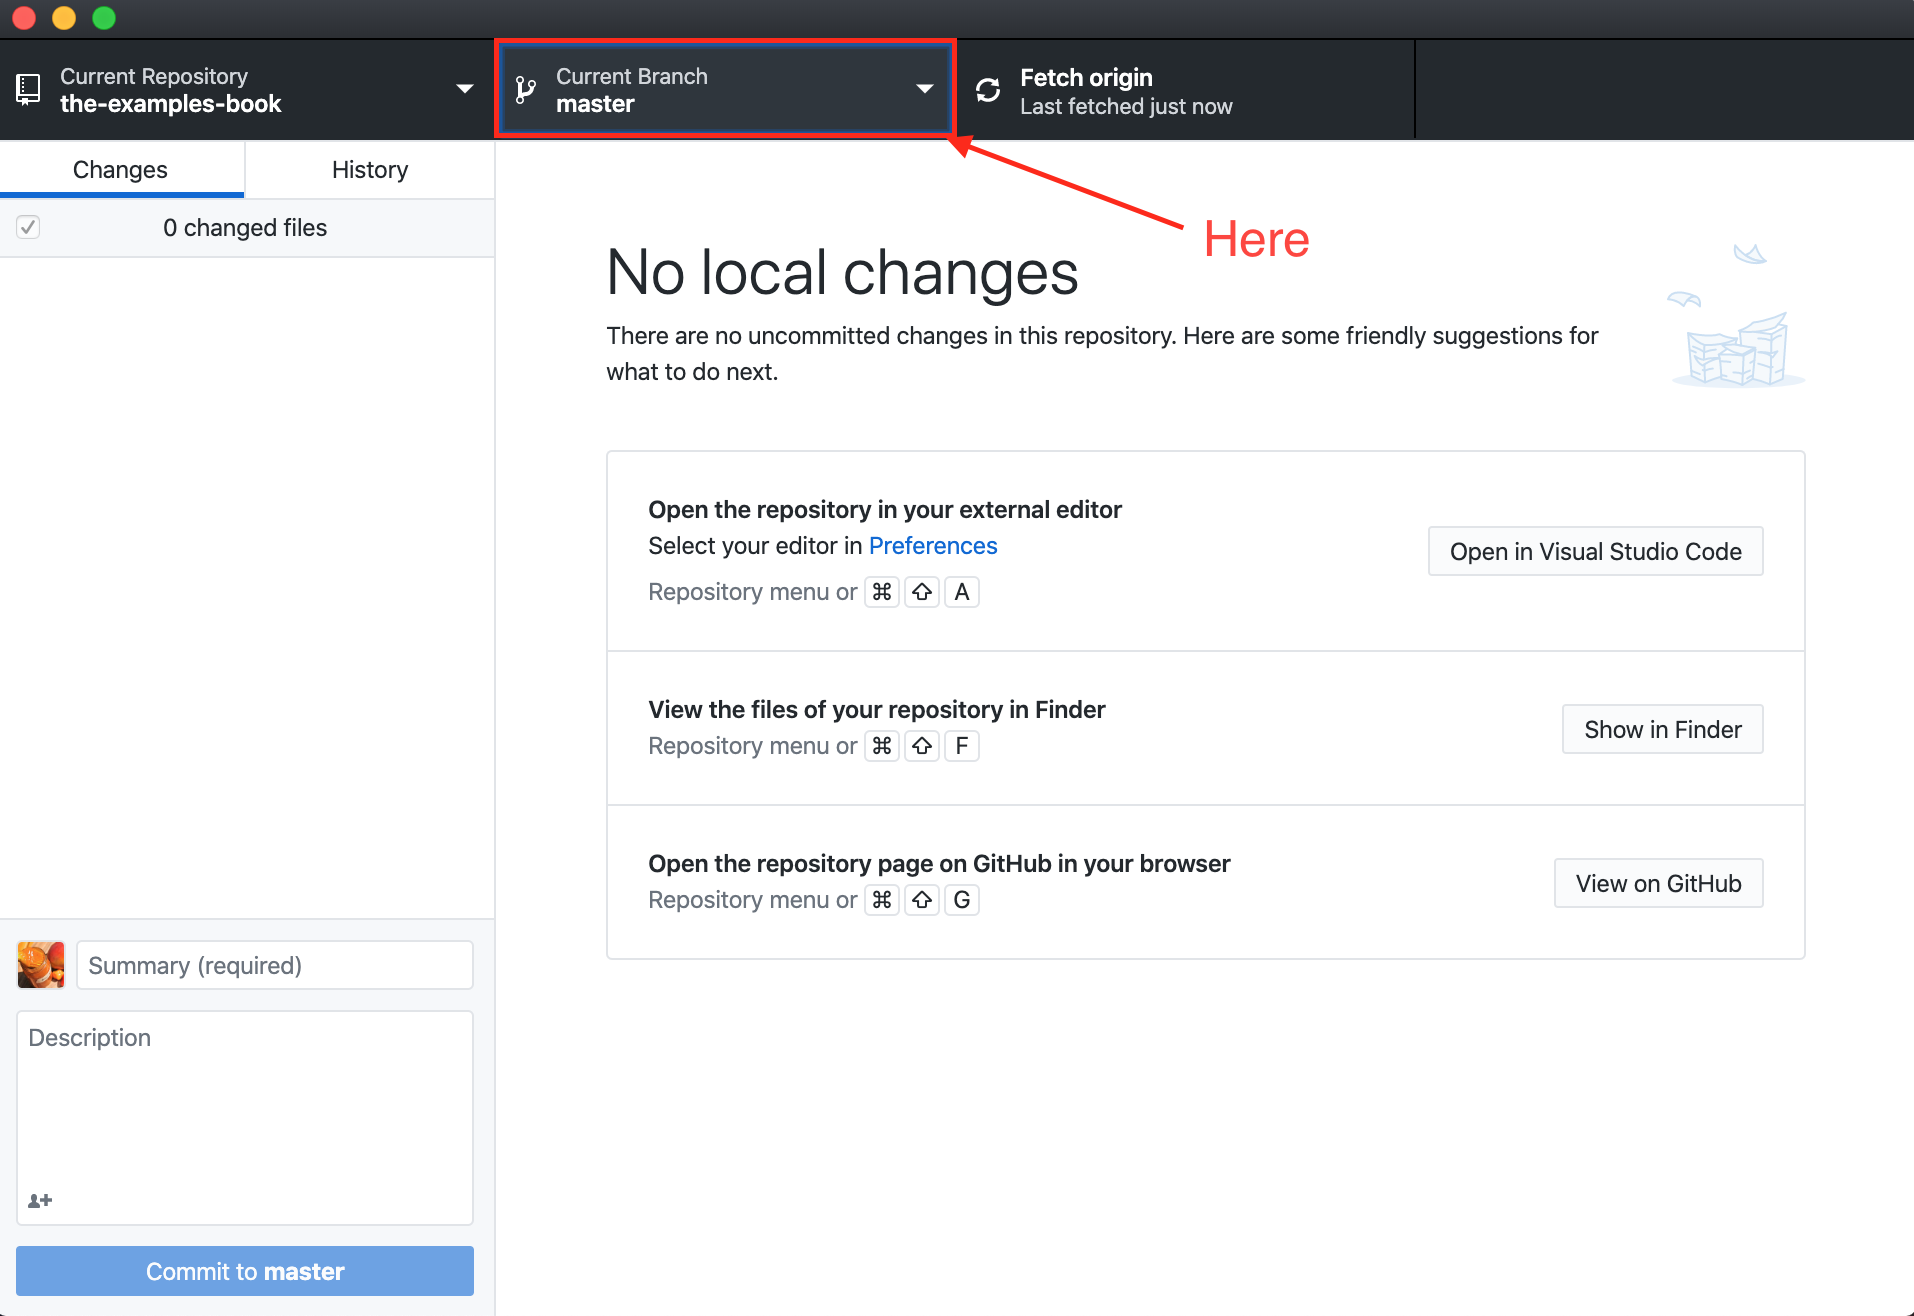
- You can verify that the changes have been made by navigating to the branch on github.com, and checking the commit history.
Create a new branch
- In GitHub Desktop, click on the "Current Branch" dropdown:
 2. Click on the "New Branch" button:
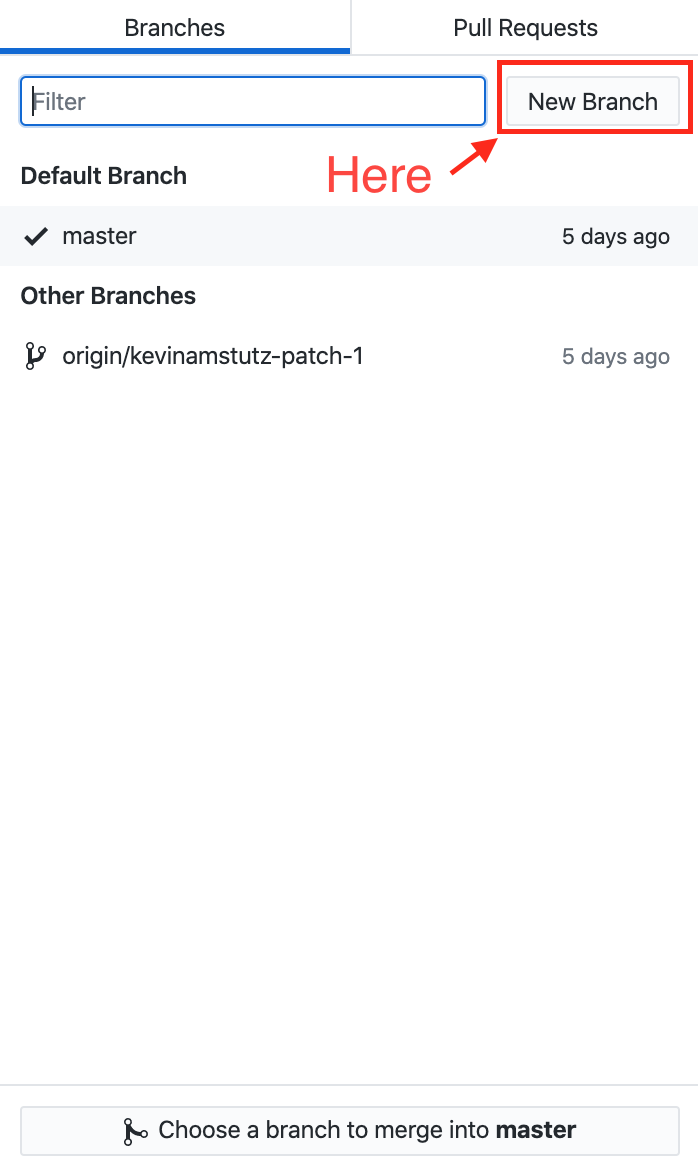 3. When presented with the following screen, ensure that your new branch will be based on the
 master branch:
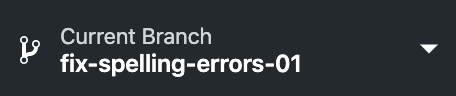
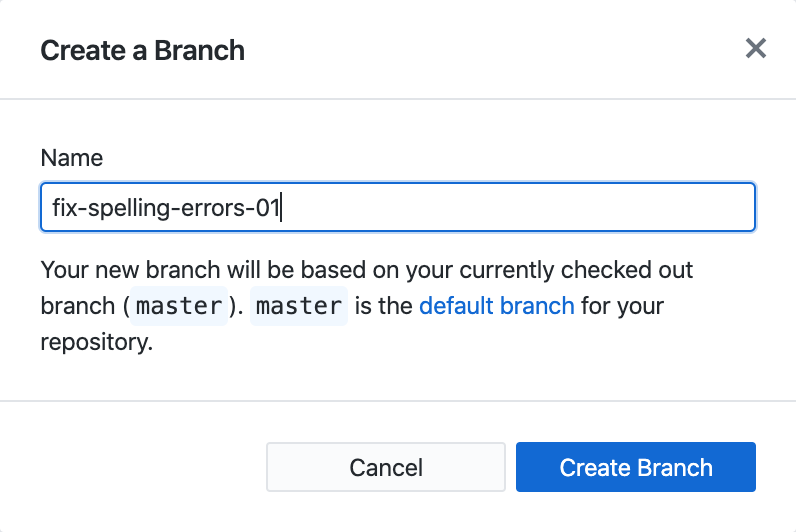 4. Type whatever name you'd like to give the new branch. In this case, we are calling it
 fix-spelling-errors-01. Click "Create Branch". 5. Your current branch should now be fix-spelling-errors-01 or whatever name you entered in step (4). You can see this in the dropdown:
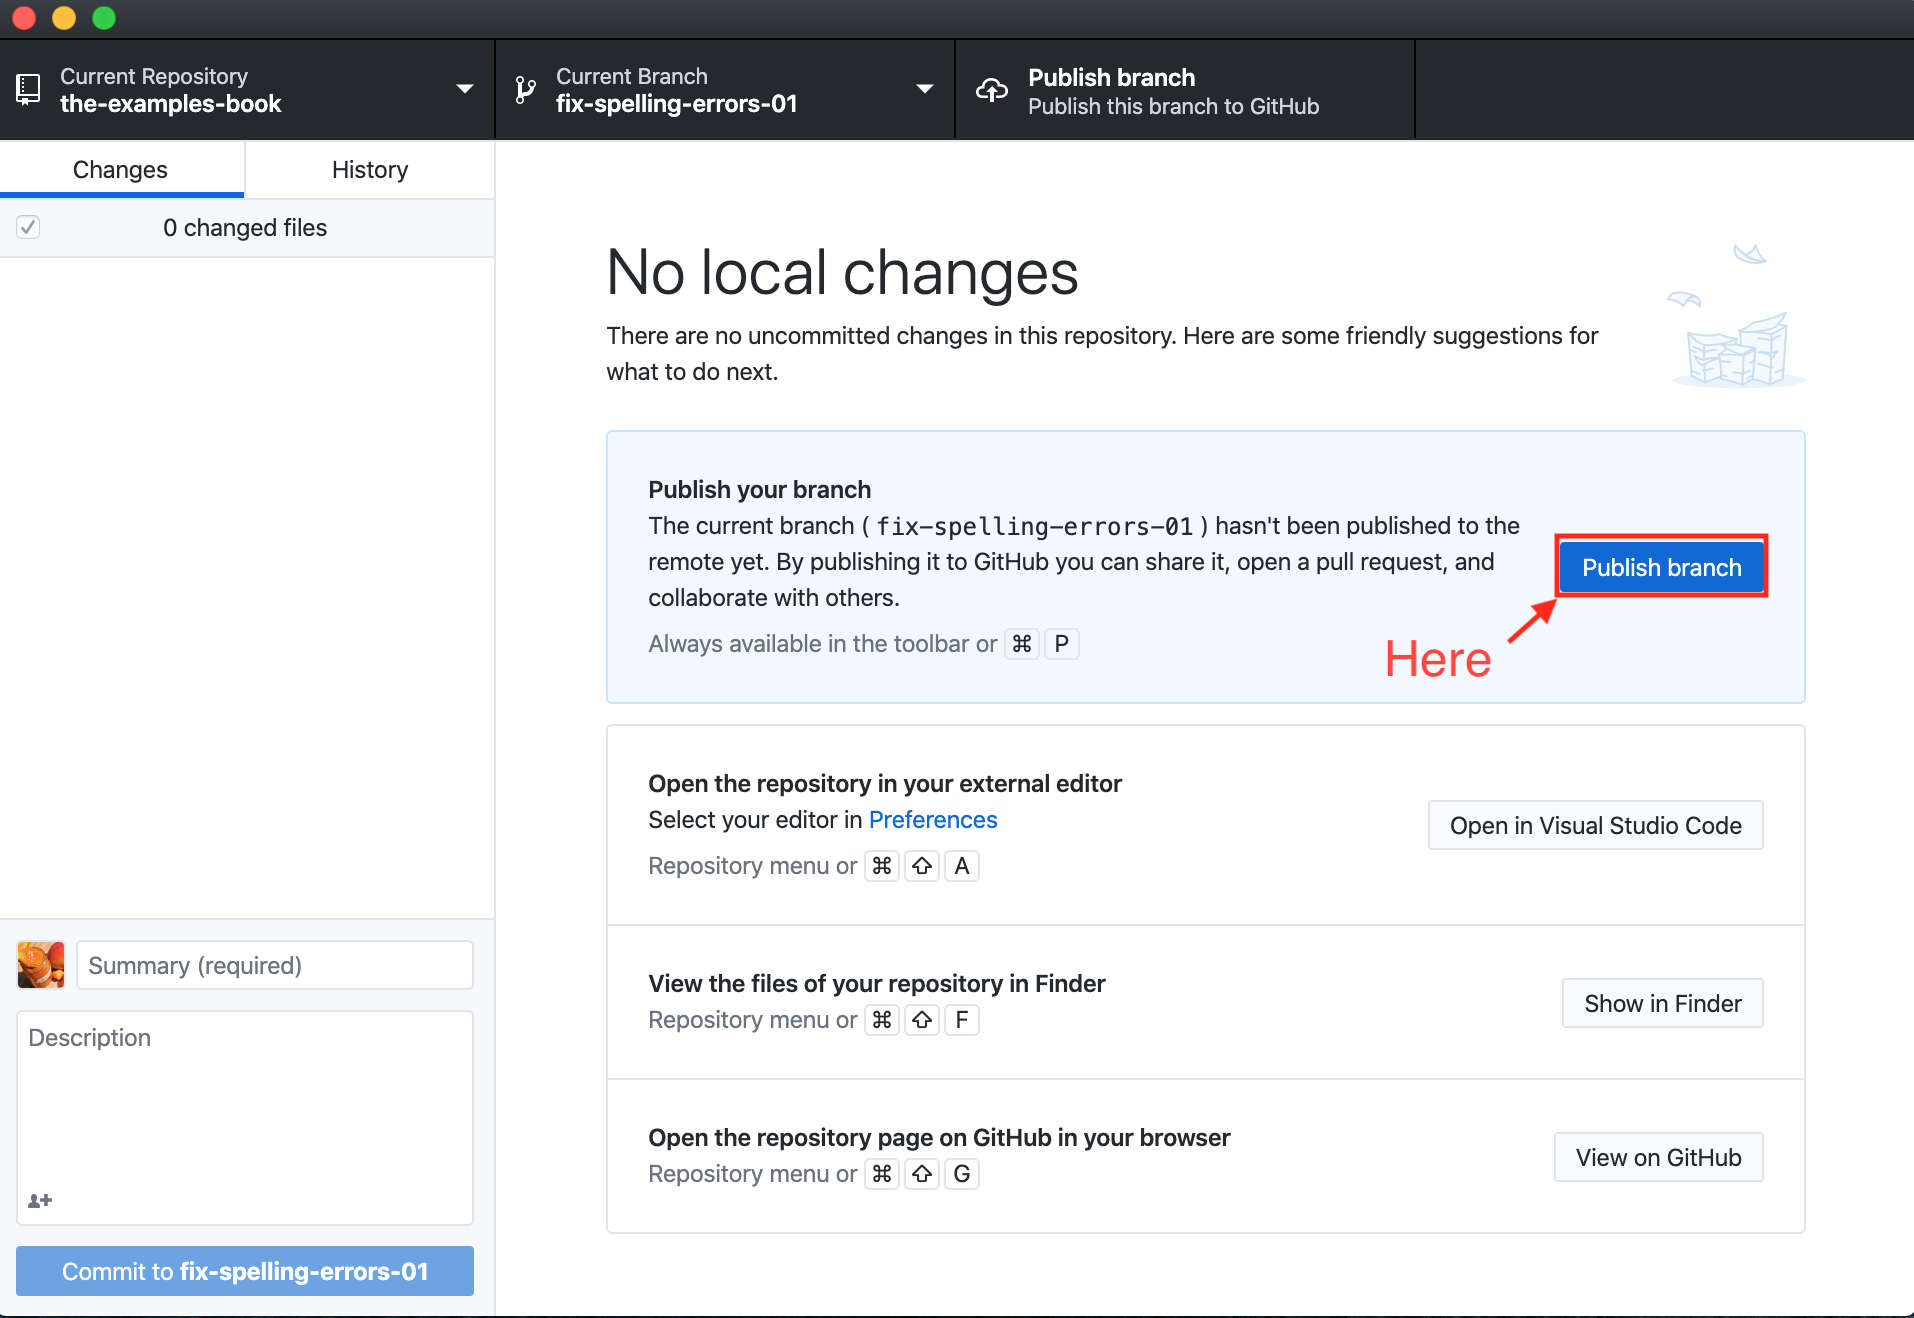
Publish your branch to GitHub
- If the branch you created is not already present remotely, you'll have a button available to you that says "Publish Branch". Clicking this button will push the branch to the remote repository (on github.com):
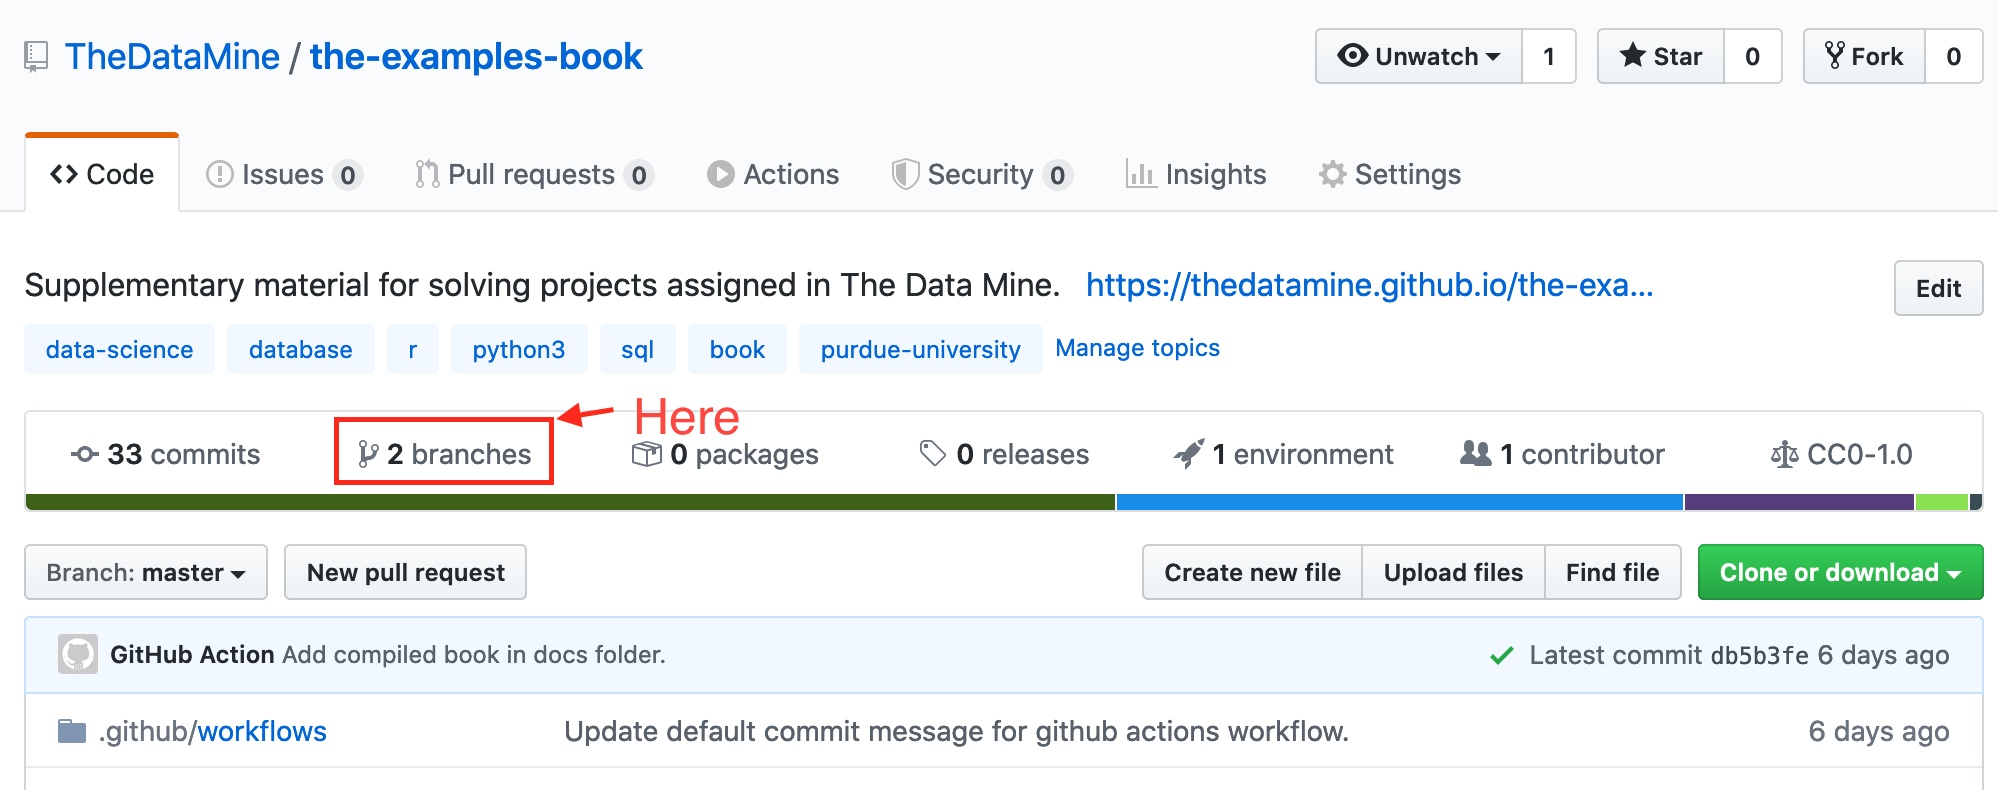
 2. You can confirm that the branch has been successfully pushed to github.com by navigating to the repository on github, and clicking on the "branches" tab:
Create a pull request
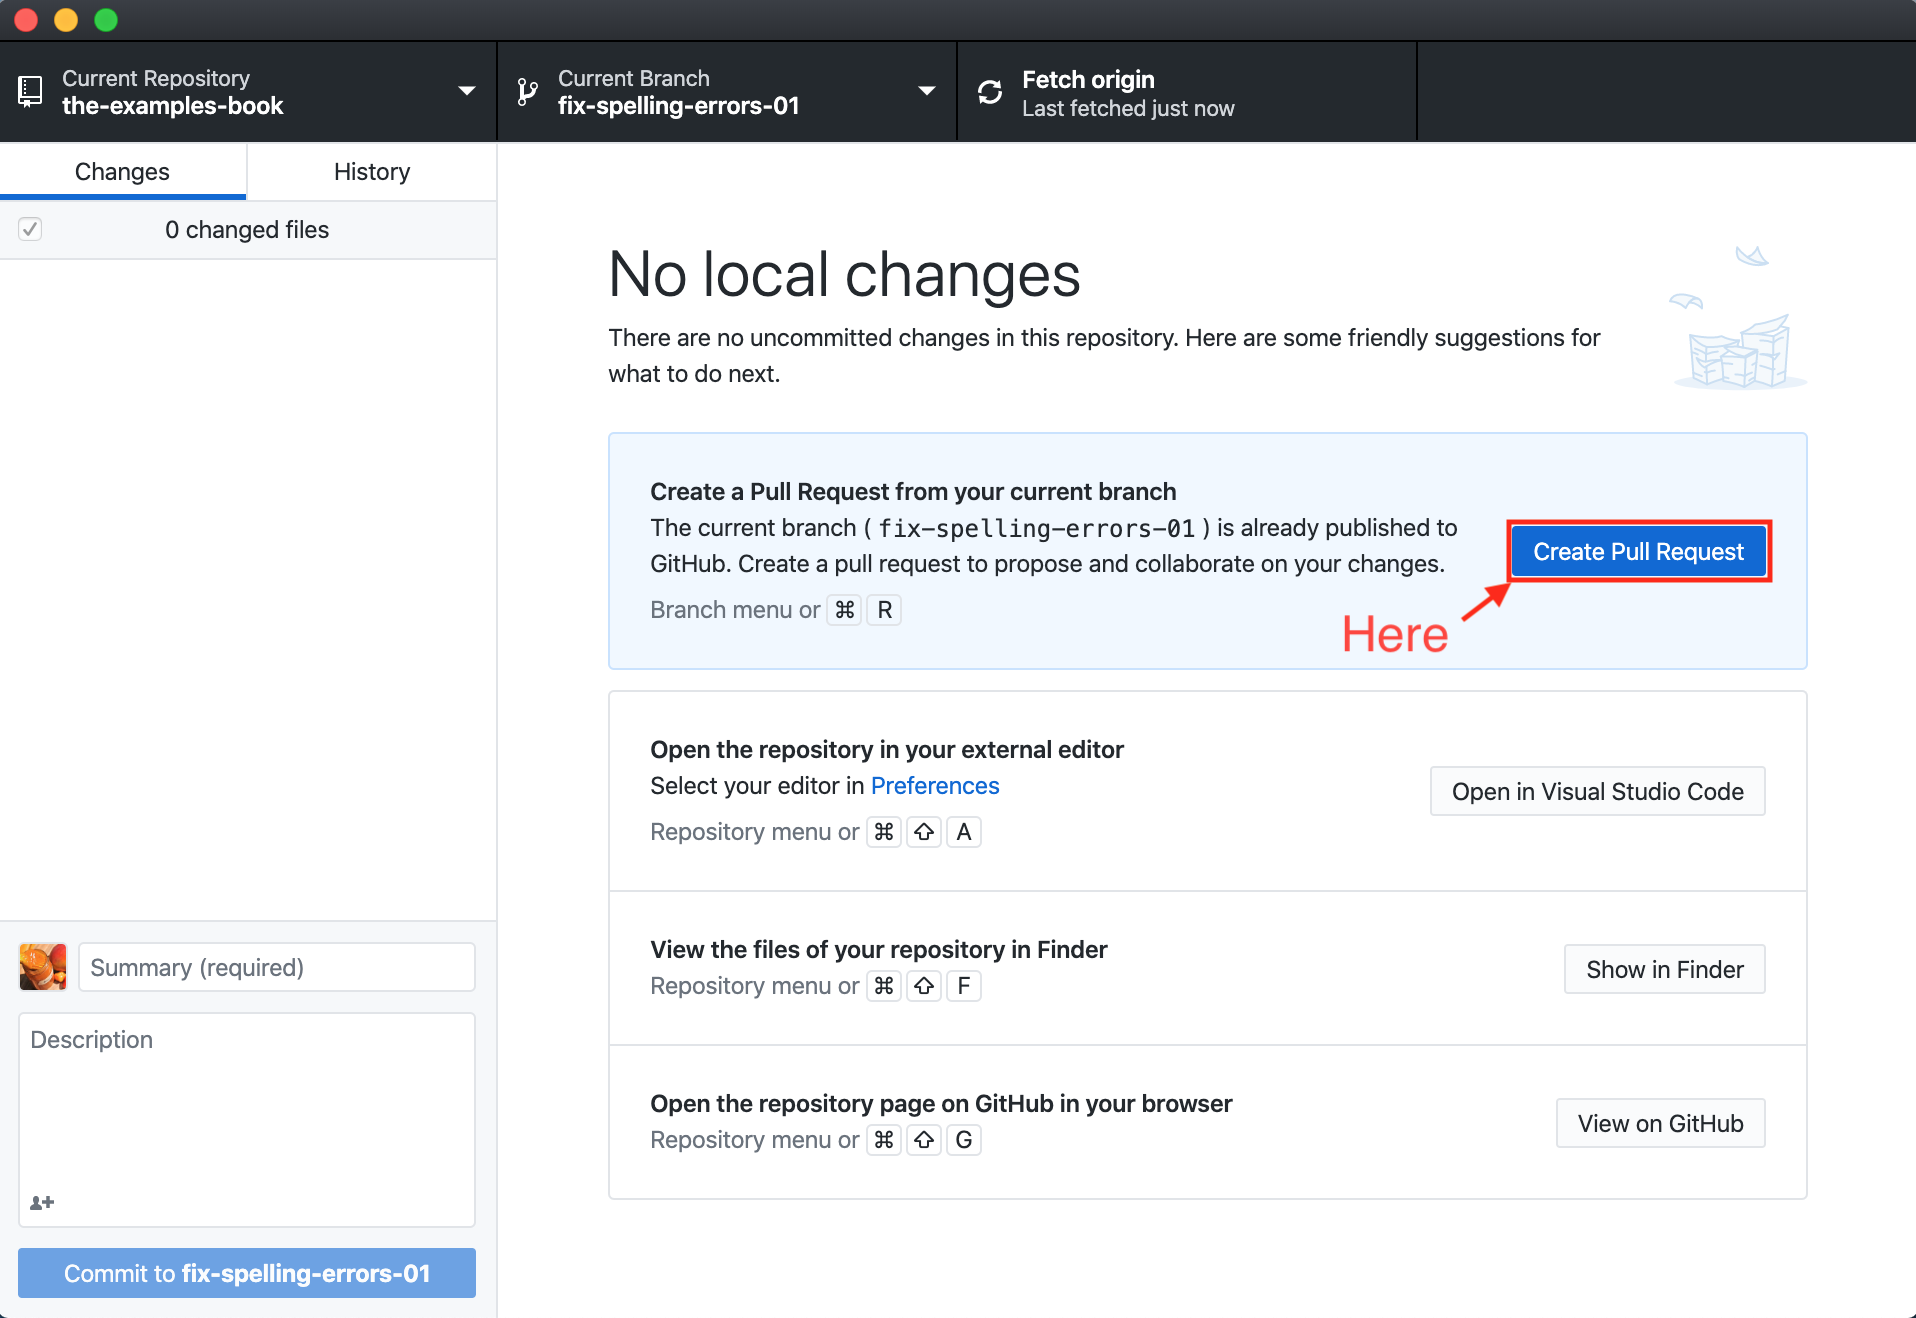
- If the branch you are working on is already published remotely, and the remote repository and local repository are both up to date, you will be presented with a screen similar to this:
Note that if your local repository is ahead of the remote repository, you will instead be presented with a screen similar to this:
You will first need to push your local commits to the origin (which is the remote fix-spelling-errors-01 branch in this case) by clicking on the "Push origin" button.
- Click the "Create Pull Request" button. This will open up a tab in your browser:
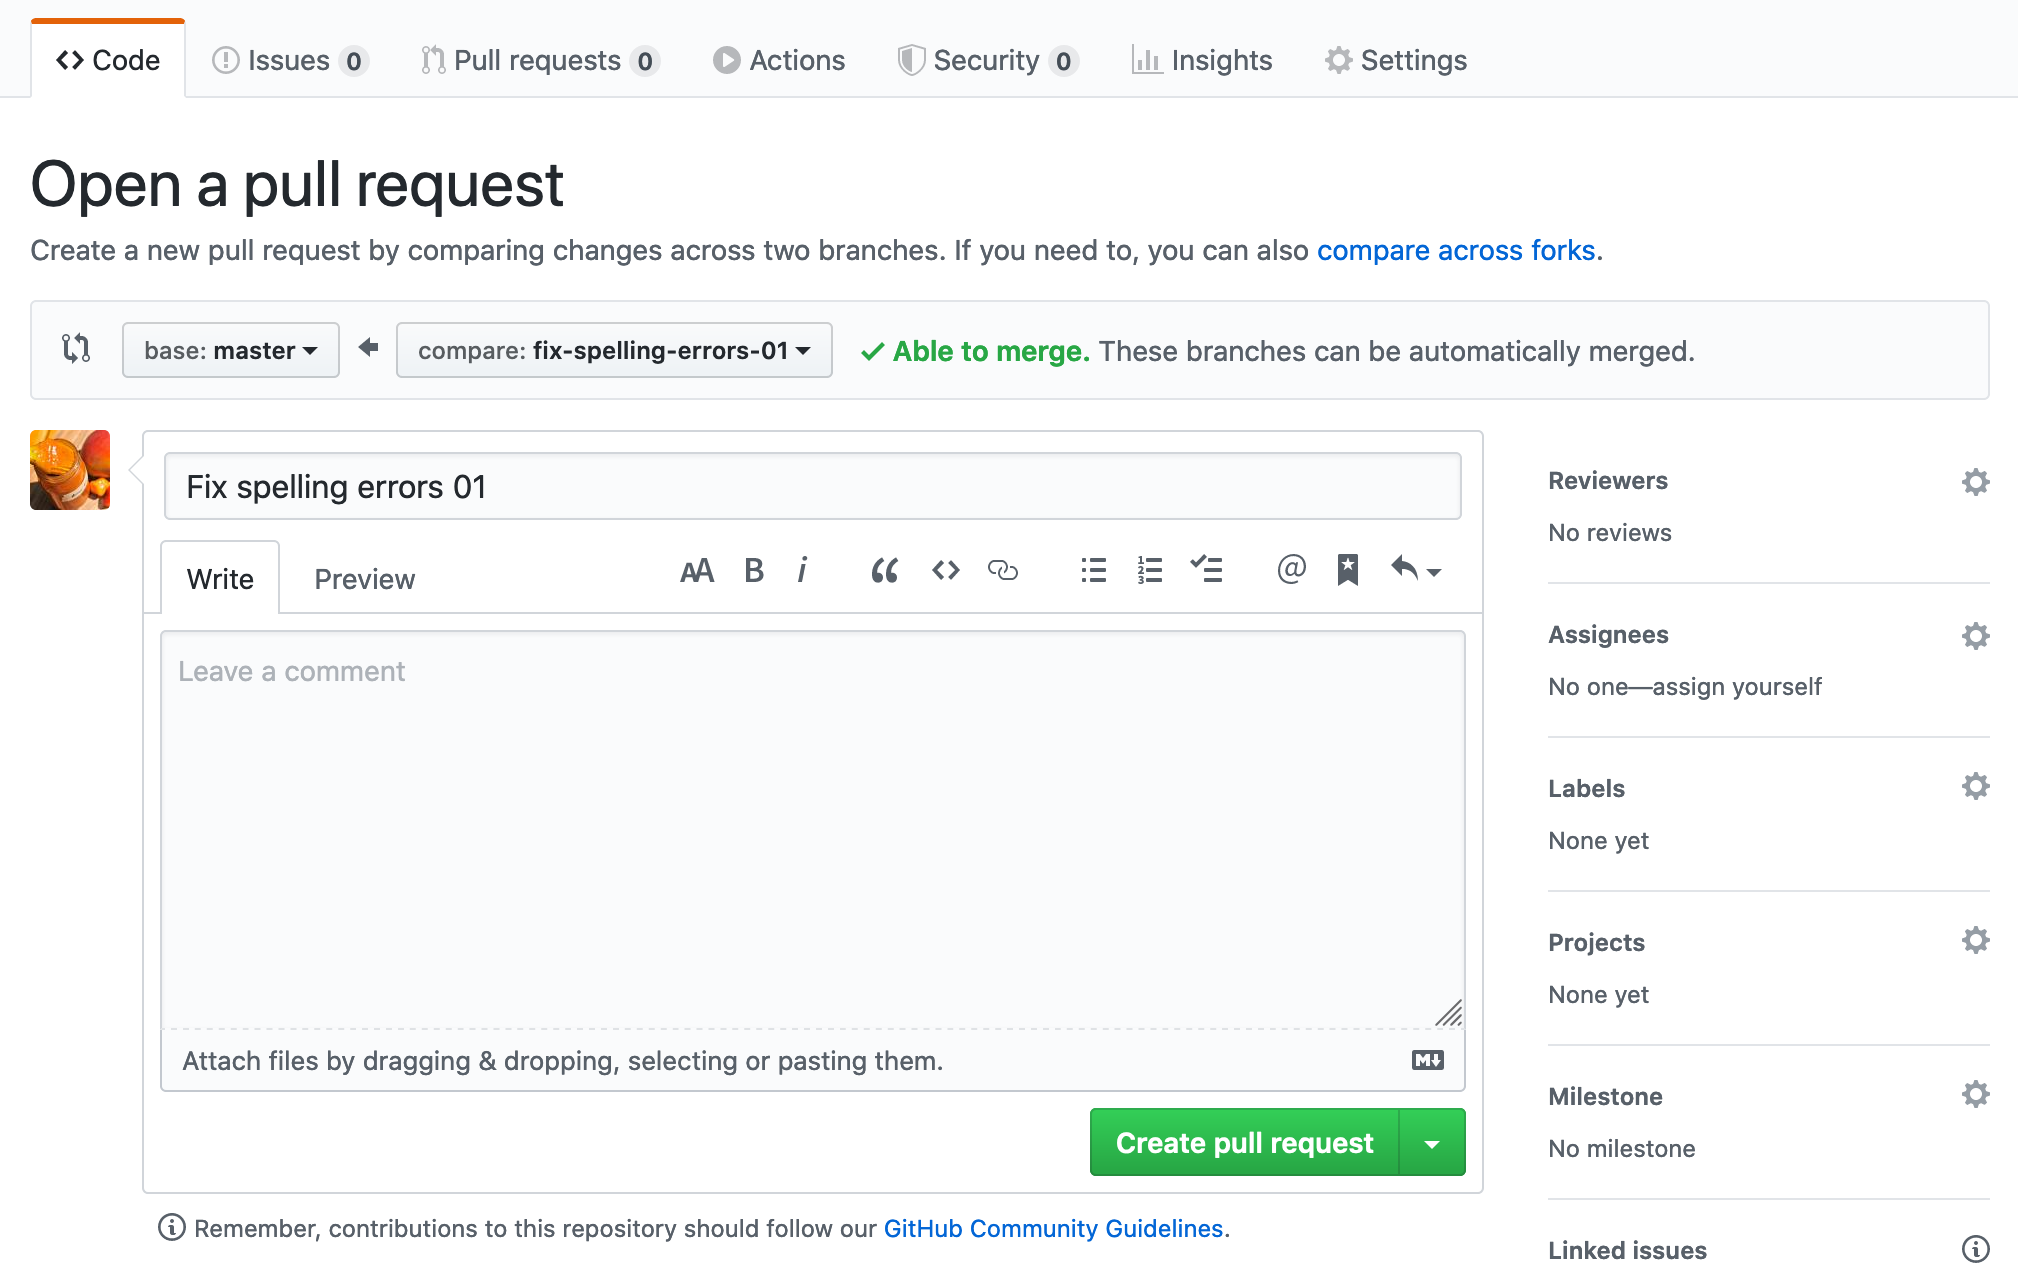
- Leave a detailed comment about what you've modified or added to the book. You can click on "Preview" to see what your comment will look like. GitHub's markdown applies here. Once satisfied, click "Create pull request".
Resources
An excellent resource to understand git and GitHub specific terminology.
An interactive game that teaches you about git branching.